What makes a watercolor pencil different?
A watercolor pencil looks and handles much like a colored pencil, but its core contains a water-soluble binder. Used dry, it leaves visible pencil strokes. Touch those strokes with a damp brush, and some of the color disperses into the water. The result can range from a slightly softened line to a broad wash, depending on how much pigment you put down and how much water you add.
That change is useful, but it is not automatic. A pale, lightly drawn area may produce only a faint wash. A heavily shaded area can release a stronger color, though some grain or pencil marks may remain. Different pencils also dissolve to different degrees. Make a small test swatch before starting a finished drawing so you know what to expect from the colors in your set.
Use them dry for control and texture
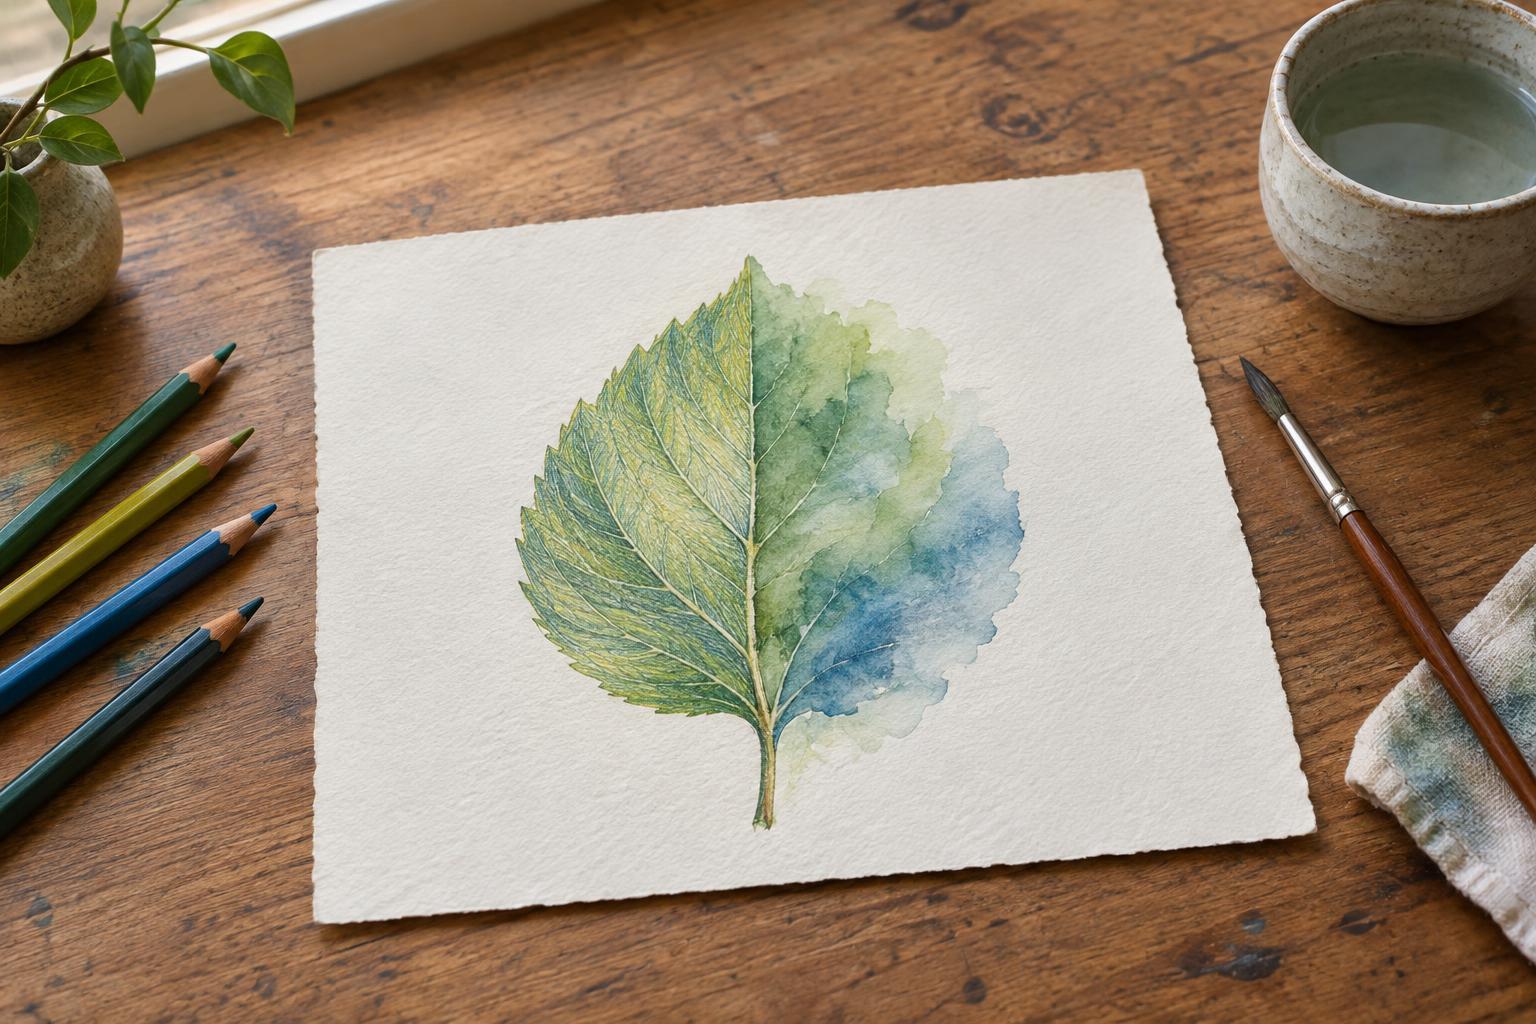
Dry watercolor pencils are well suited to sketches, fine edges, hatching, and small details. Hold the pencil farther back for loose marks or closer to the tip for precise lines. Light pressure preserves the paper’s texture and makes it easier to build color gradually. If you want to leave some marks crisp in the finished piece, simply keep water away from them.
Dry drawing also helps you plan a wash. You can shade a shape more densely on its shadow side, then use a damp brush to spread that pigment across the rest of the shape. Start with less color than you think you need: it is usually easier to add another layer than to remove a dark patch. Remember that colors may look more intense once wet, especially where a brush gathers pigment along an edge.
Add water when you want softer transitions
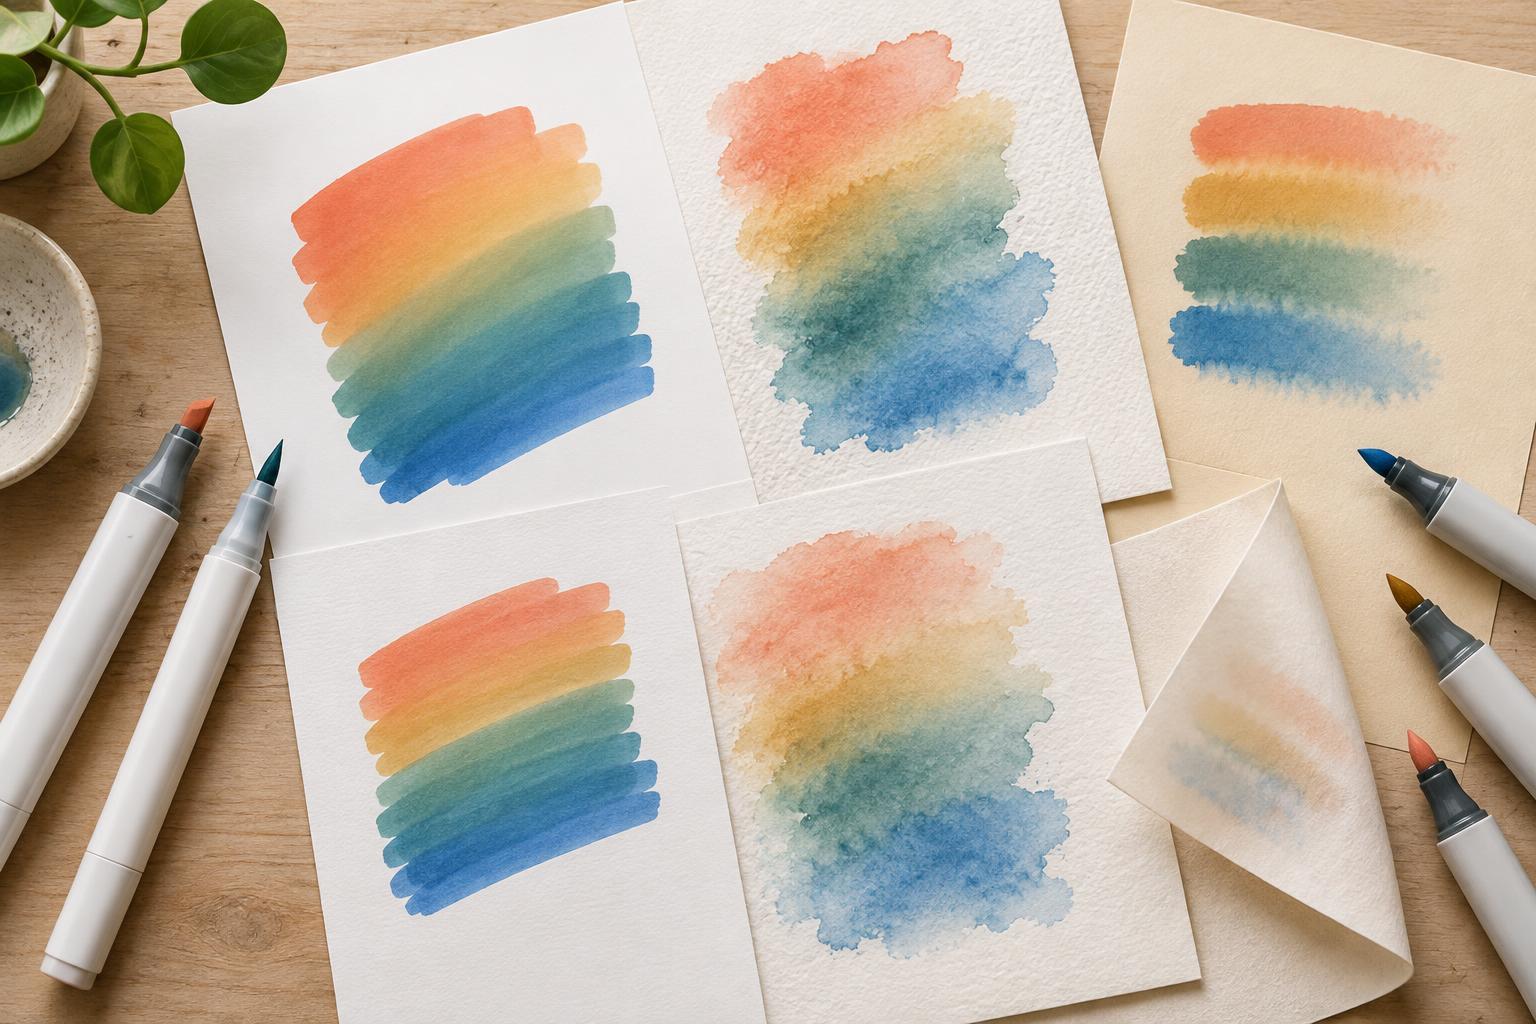
Water is most useful when you want to reduce visible strokes, blend neighboring colors, or cover an area with a wash. Try drawing a small patch, then passing a clean, lightly damp brush over it in one direction. Rinse the brush between colors if you want to keep them distinct. A wetter brush spreads color farther; a nearly dry brush gives you more control near edges.
You can also lift color directly from a pencil tip with a wet brush and paint it onto the page. This offers a way to place a small amount of color without first making pencil marks on the paper. Avoid leaving the pencil tip soaked, and let it dry before sharpening it. For a clean line beside a wet wash, wait until the paper is completely dry before drawing over it.
Choose paper for the amount of water you plan to use
Ordinary drawing paper may be enough for dry pencil work and a few restrained touches of water. Larger or repeated washes call for paper made to tolerate wet media, such as watercolor paper. Thicker, more absorbent paper is generally less likely to wrinkle severely, although any sheet can move when wet. A paper with noticeable texture catches dry pencil marks; a smoother surface can make fine details easier.
Test your paper as well as your pencils. Draw and wet a sample near the edge of a spare sheet, then let it dry. Check whether the surface pills when brushed, whether colors spread farther than expected, and whether the paper stays flat enough for your intended work. If you are using a sketchbook, put a protective sheet behind the page to keep moisture from reaching the next one.
Build a drawing in manageable layers
A simple approach is to sketch lightly, add dry color where you want the strongest tones, and activate selected areas with a damp brush. Leave highlights mostly untouched if you want the white of the paper to show. Let the first wet layer dry before adding more pencil or another wash. Drawing on damp paper can create unexpectedly bold, soft marks, but it can also make detail harder to control or disturb the surface.
There is no need to wet every part of a watercolor-pencil drawing. Keeping a few lines dry can preserve the energy of the sketch, while washes give larger shapes a quieter appearance. On a practice sheet, try the same color three ways: dry only, drawn first and then brushed with water, and painted from pigment lifted off the pencil tip. Comparing the results will make it easier to decide when water adds something to your drawing—and when the pencil mark is already doing its job.