Start with the ink, not the color
Two markers can look nearly identical in the barrel yet behave differently on paper. Alcohol-based markers use an alcohol solvent to carry color. They tend to dry quickly and can be layered with relatively even coverage, which makes them popular for illustrations with smooth areas of tone. Water-based markers use water as the main carrier. Depending on their formulation, they may behave more like a felt-tip pen, a brush pen or a portable watercolor.
Neither type is automatically better. The useful question is what you want the mark to do. If you want gradual shading across a large shape, alcohol-based markers may make that easier. If you want to pull color outward with a damp brush or make lively, visible strokes, a water-based marker may suit the drawing. Ink formulations vary within both groups, so treat the label as a starting point rather than a guarantee of results.
How blending differs
With alcohol-based markers, blending usually works best while neighboring marks are still damp. Lay down a lighter color, add a related darker color where you want a shadow, then pass over the join with the lighter marker. Small, overlapping strokes help avoid a hard edge. A clear blender can shift or lighten color, but it does not erase a mark; on some papers it pushes ink outward and leaves a pale center with a darker rim.
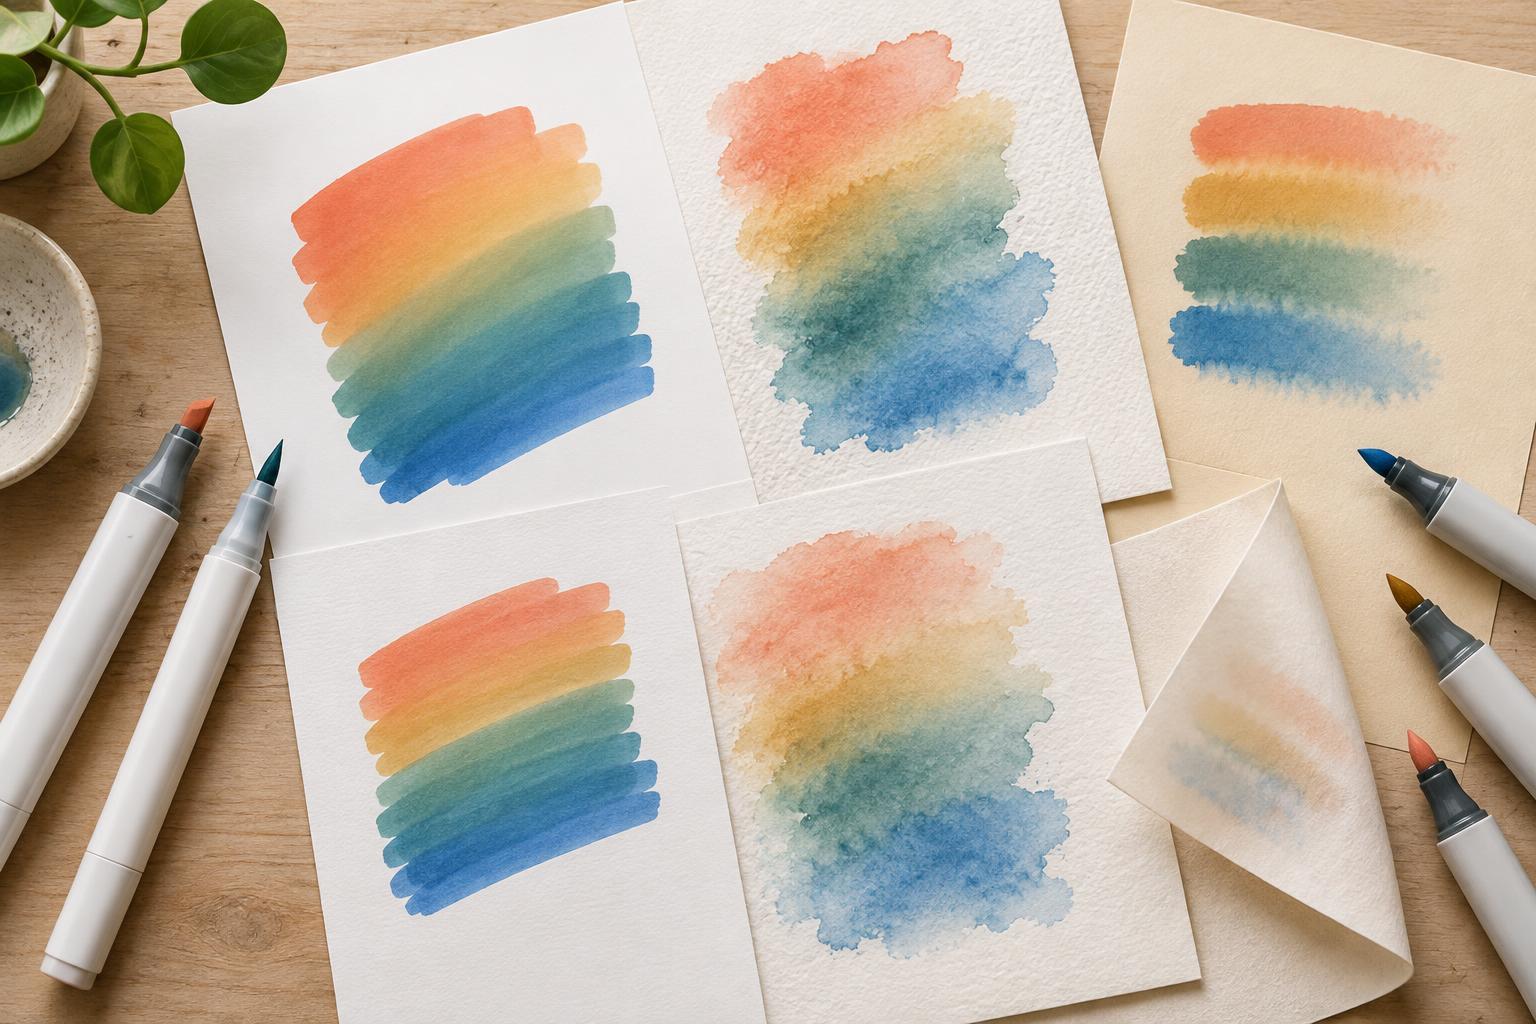
Water-based markers offer several approaches. You can overlap colors directly on paper, touch two marker tips together briefly to transfer a little color, or add water with a brush to move soluble ink. Work gently: repeated strokes on damp paper can roughen the surface and make later marks look patchy. Some water-based inks resist rewetting once dry, while others continue to move, so test before planning a complex blend.
For either type, limit your first experiments to two or three related colors. Make one swatch with a quick transition and another after the first color has dried. Comparing them will show you how much working time that marker and paper combination allows.
Bleeding, feathering and show-through
These terms describe different problems. Bleeding through means ink passes to the back of the sheet or onto the page beneath it. Show-through means you can see a mark from the reverse side even when the ink has not fully passed through. Feathering is the fuzzy spread of color along paper fibers beyond the edge you intended. A heavy application of either marker type can cause trouble, but the pattern depends on the ink and the paper’s absorbency and surface treatment.
Alcohol ink can pass through surprisingly thick paper, especially after several layers. Place a spare sheet beneath your drawing even when working in a sketchbook. Water-based ink may stay nearer the surface on some papers, yet excess water or repeated passes can make edges spread or the paper buckle. If a line feathers, changing your technique may help a little, but trying a different sheet is often more effective.
Choose paper for the effect you want
Smooth marker paper is designed for controlled strokes and may include a barrier that reduces how far ink penetrates. Some marker sheets are thin but still perform well on their intended side, so paper weight alone is a poor predictor of bleeding. Check whether a sheet has a recommended drawing side, and protect the surface underneath until you know how it behaves.
Smooth Bristol or other firm, smooth drawing papers can be useful when you want crisp edges and a sturdy finished sheet. They are not all equally resistant to alcohol ink, however. For water-based markers used with a damp brush, mixed-media or watercolor paper may tolerate moisture better. A pronounced texture can interrupt fine lines and wear down soft nibs, so a smoother watercolor surface is worth considering if precise lettering or detail matters.
Before committing to a sketchbook or drawing, make a small test grid. Draw a single stroke, a layered patch and a blended area. Check the edges, then turn the sheet over and inspect the page beneath it. Let the test dry before deciding: a surface that looks evenly colored while wet may dry with visible strokes.
Build a reliable working routine
Keep a swatch chart on the same paper as your drawing. Cap markers promptly, use light pressure to protect the tips, and allow a layer to dry before adding ink outlines unless you have tested that combination. If you combine markers with a fineliner, pencil or paint, test the order of materials on a spare corner; a marker solvent or added water can disturb earlier marks.
For work you intend to keep or display, remember that color permanence varies by product and storage conditions. Check the maker’s information if lightfastness matters, and avoid assuming that an attractive fresh swatch will remain unchanged indefinitely. The most dependable choice is the pairing you have tested: a marker that gives you the blend you want on paper that keeps the mark where you put it.