Choose a point for the mark, not just the pencil
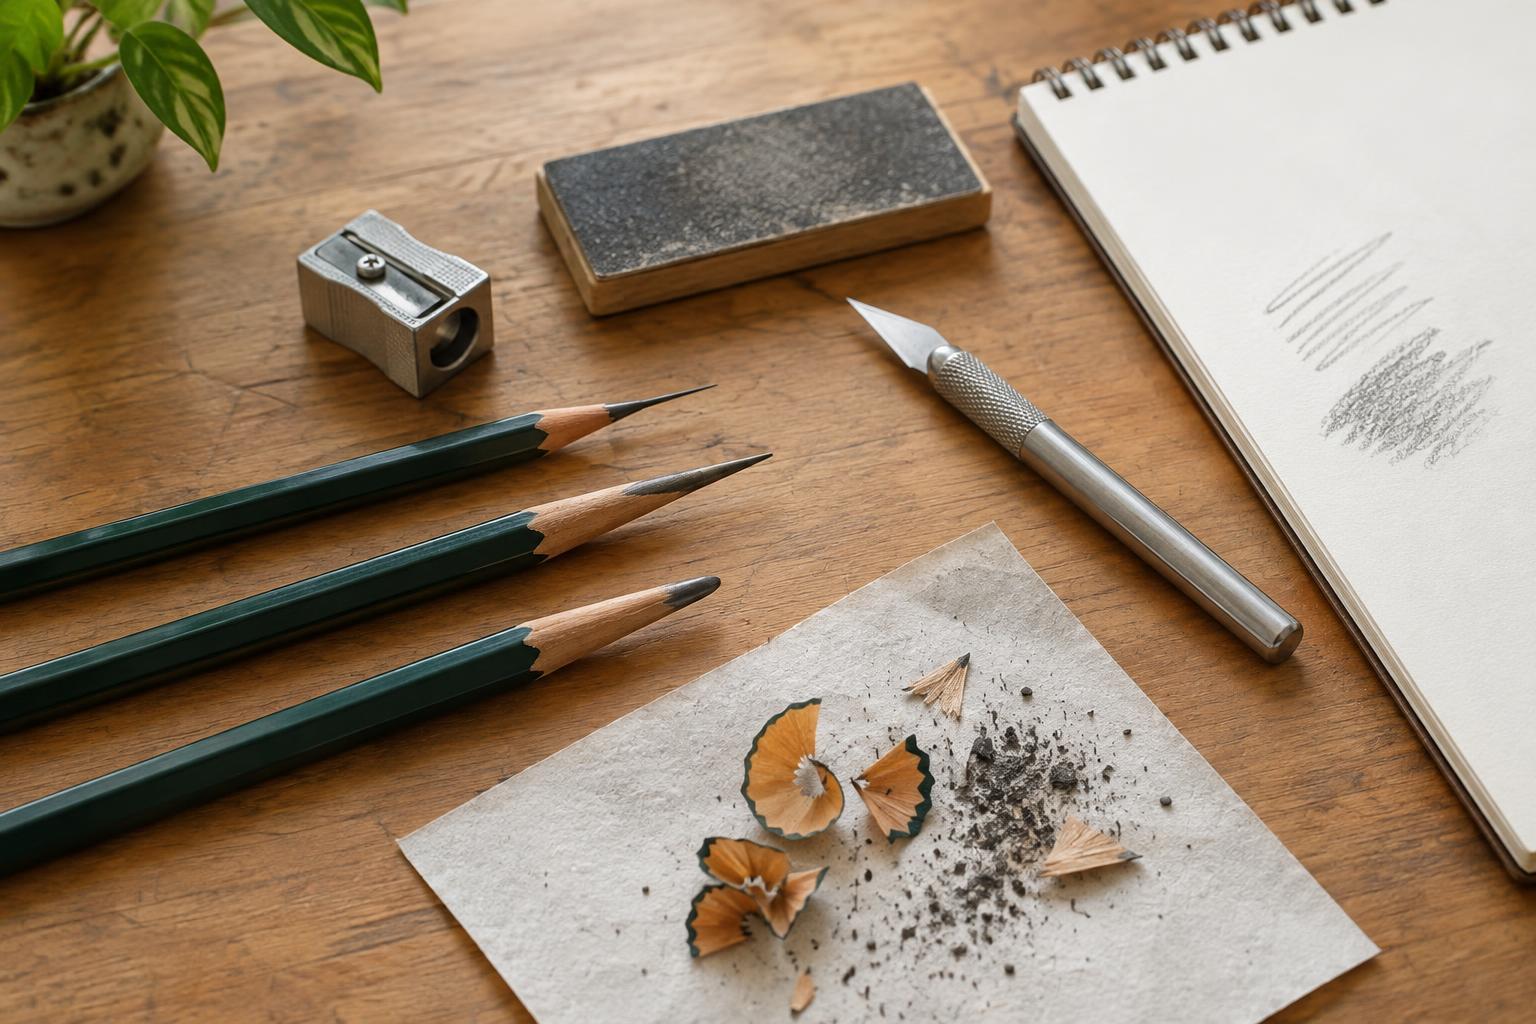
A fine point is useful for small details and crisp edges, but it is not the only good shape for drawing. A broader, rounded tip can make softer lines and withstand more pressure. Exposing a longer length of graphite or charcoal lets you shade with the side of the material. Before sharpening, decide whether you need precision, a durable working tip or a broad surface for tonal marks.
The material matters too. Wood-cased graphite pencils usually tolerate an ordinary sharpener, while soft charcoal and some pastel pencils may crumble under the same twisting force. A very sharp point on a soft core can break as soon as it touches the page. Preparing several pencils with different tip shapes can be more useful than trying to make every pencil needle-sharp.
Use a sharpener for quick, controlled points
A handheld or desk sharpener is the simplest starting point for most wood-cased drawing pencils. Match the pencil to the opening without forcing it, and turn gently. If the sharpener chews the wood, repeatedly snaps the core or requires considerable pressure, check whether its blade is dull or its opening is unsuitable for that pencil. A fresh, well-fitting sharpener is often easier to control than a worn one.
Empty the shavings before they crowd the blade. Keep fingers away from the cutting opening, particularly when clearing a jam; use a small brush rather than probing with a fingertip. If a soft pencil keeps breaking, stop sharpening it in the same way. A knife or abrasive block may offer more control, though either calls for a slower, more deliberate approach.
Reserve a craft knife for shaping exposed material
A craft knife can remove wood without putting as much twisting pressure on a fragile core. It also lets you expose more graphite or charcoal than a typical sharpener, which is helpful for broad shading. Work on a stable surface with good light. Hold the pencil securely, keep the hand holding it behind the blade’s path, and make short cuts away from your body. Remove thin layers of wood rather than trying to carve the final shape in one stroke.
Use a knife with a secure, sharp blade and cover it as soon as you finish. A blade that slips or needs excessive force is a reason to stop and reassess your setup. Dispose of used blades in a rigid container appropriate for sharp objects, not loose among paper scraps. Children and anyone unfamiliar with craft knives should use a safer tool or work with appropriate supervision.
Refine the tip with a sandpaper block
Once enough core is exposed, a sandpaper block can shape it gradually. Rest the pencil against the abrasive and rotate it as you make light strokes for an even point. For a flatter, chisel-like edge, work one side more than the others. Try the tip on scrap paper as you go: the test mark tells you more about its usefulness than its appearance does.
Abrasion produces fine dust, especially with charcoal or pastel. Work over a sheet you can fold and discard, and avoid blowing dust off the block or drawing. Brush or wipe the area carefully when finished, keeping dust away from food and drinks. If a material is particularly dusty or you are sensitive to airborne particles, reduce the amount you abrade and follow the material maker’s handling guidance.
Build a small, repeatable routine
A practical setup needs little space: a sharpener suited to your pencils, a sandpaper block, scrap paper, a small cleanup brush and, only if needed, a craft knife. Keep cutting tools separate from loose pencils so you do not reach into a case blindly. Check the point over your work surface before drawing; loose fragments can leave unexpected marks or become trapped under your hand.
Sharpen only as much as the next stage of drawing requires. Start with a sturdy point for initial lines, refine it for detail, and leave a broader edge available for shading. This approach wastes less material, reduces repeated handling of blades and helps you notice which point shapes suit your own pressure and paper.