Start with the mark you want to change
An eraser is more than a tool for fixing mistakes. It can soften a shadow, pull a highlight out of a graphite drawing or clear a construction line before you finish a sketch. The right choice depends on the drawing material, the paper surface and how much of the mark you want to remove.
No eraser can guarantee a return to untouched white paper. A hard pencil line may leave an indentation, while charcoal or colored pencil can settle into the paper’s texture. Before erasing an important area, try your chosen eraser on a spare piece of the same paper with a similar mark. Begin with light pressure: repeated rubbing can change the surface even when it removes the drawing material.
Kneaded erasers for lifting and shaping tone
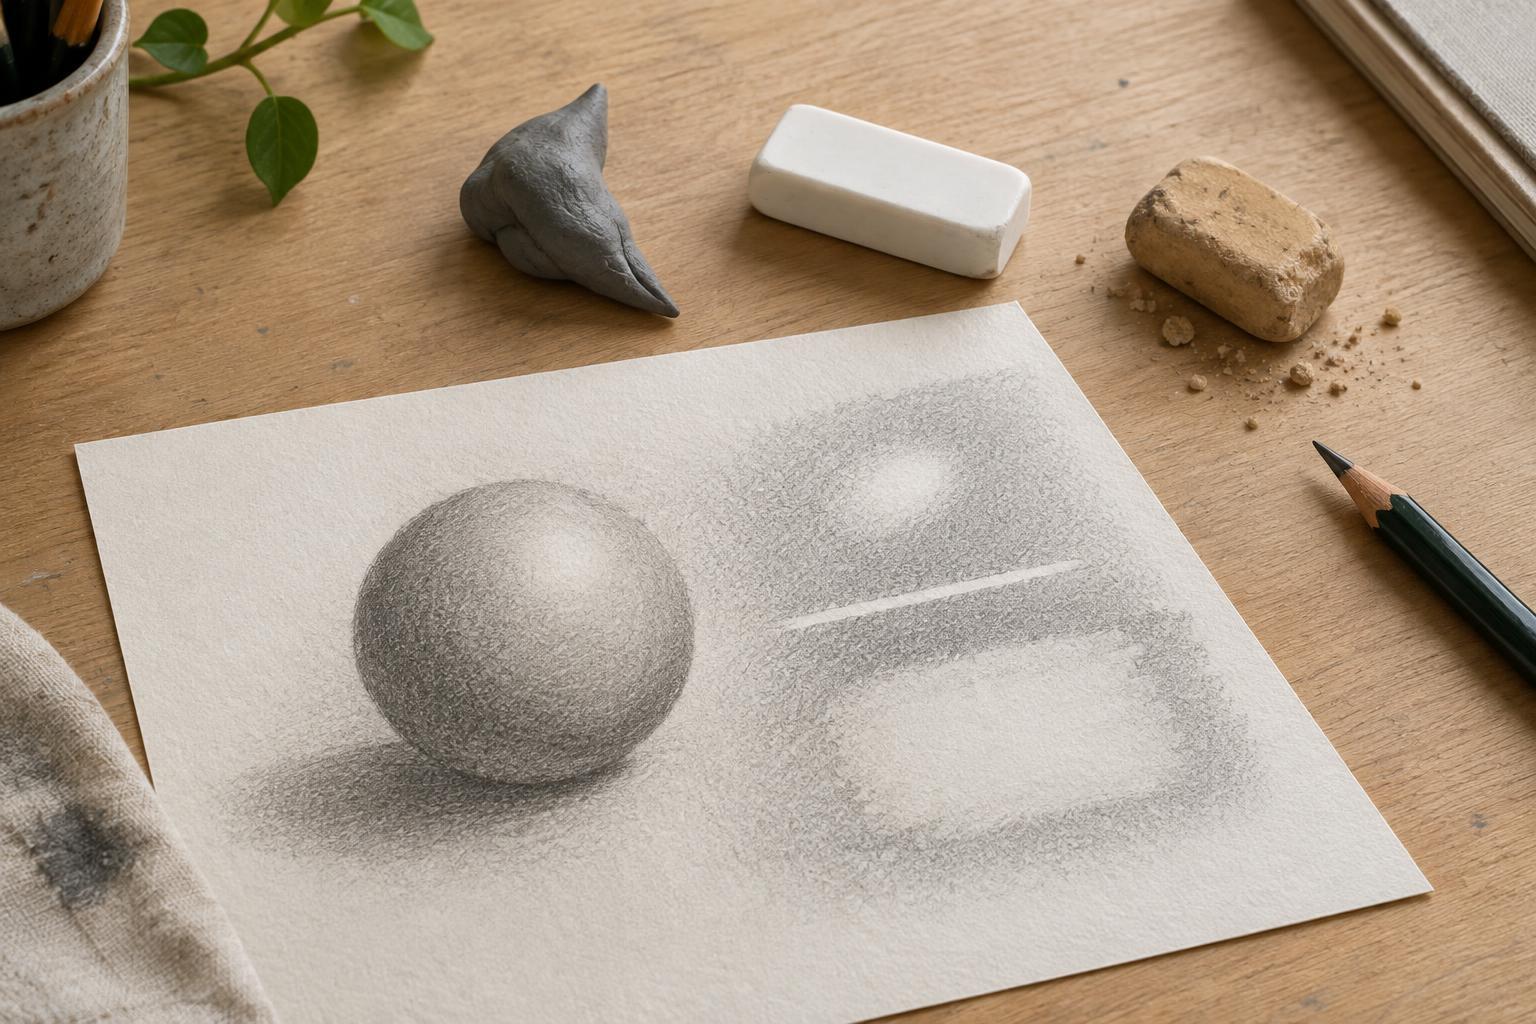
A kneaded eraser is soft and moldable. Press it gently onto graphite or charcoal to lift some of the material rather than scrubbing across the page. This makes it useful for lightening a shadow gradually, reducing an overly dark sketch line or bringing out soft highlights. Pinch it to a small point for a narrow highlight, or flatten it for a wider, more even lift.
Because it works well with a press-and-lift motion, a kneaded eraser is a good first choice when you want to preserve a paper’s texture. It may not fully clear a dark, burnished line, however. Fold and stretch the eraser to expose a cleaner surface as it picks up drawing material. If it becomes heavily loaded, it may start leaving smudges instead of lifting marks. Keep it away from lint and grit, which can transfer to the drawing or scratch the paper.
Vinyl erasers for clean, controlled removal
Vinyl erasers are firmer and often remove graphite more completely than kneaded erasers. Use one when you need to clear a construction line, sharpen an edge or make a small correction in an area that must stay light. A clean corner can reach a narrow space; an eraser shield, if you have one, can help protect neighboring marks.
The trade-off is that firm rubbing can flatten or roughen paper fibers, especially on soft or thin sheets. Work in short, gentle strokes and check your progress before going over the same spot again. Wipe a dirty eraser edge on scrap paper so it does not drag graphite into a clean area. Vinyl erasers may leave crumbs; remove them with a soft brush or a gentle tilt of the page rather than rubbing them into the drawing with your hand.
Gum erasers for broad, gentle cleanup
Gum erasers are typically soft and crumbly. They can be useful for taking down light graphite marks across a larger area, such as faint planning lines around a sketch. Their softness may feel forgiving, but they are less suited to crisp, detailed corrections: the eraser wears away as you use it, and its edge does not stay sharp for long.
Use a light touch and expect plenty of crumbs. Clear them before continuing to draw so they do not get caught under your pencil or hand. As with any eraser, test first on textured or delicate paper. A gum eraser may be a comfortable choice for a loose cleanup, but it will not necessarily remove deeply pressed marks or leave every paper surface unchanged.
Build a simple erasing routine
For a tonal drawing, start with a kneaded eraser when a mark only needs to be lighter. Switch to vinyl for a small area that needs more complete removal, and consider gum for a broad cleanup of faint graphite. If the paper begins to look shiny, fuzzy or thinner, stop rather than increasing pressure. It may be better to work the remaining mark into the drawing.
Keep erasers clean and separate from loose pencil dust in your kit. Place a clean sheet under your drawing hand, lift crumbs with a brush, and avoid erasing over wet media or a surface that has not dried fully. Colored pencil, ink and some other materials may resist erasing or stain the sheet, so test those combinations before relying on an eraser for corrections. Choosing an eraser by the job—not just by habit—gives you more control over both the mark and the paper beneath it.